I was browsing on some blogs when I came upon this post on
homemade by jill on paper punch art with butterflies. I loved it and just had to make it. So I went to the local
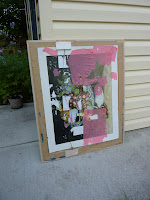
MCC thrift shop and found a really cheap picture frame that had glass in it for $6.00. It was not pretty so I needed to spruce it up so I sanded it down a bit and spray painted it.
 |
| Front of Frame | |
 |
| Back of frame (Weird) | | | | | | | | | | | | | | | | | | | | | | | | | | | | | | | | | | | | | | | | | | | | | | | | | | | | | | | | | | | | | | | | | | | | | | | | | | | | | | | | | | | | | | | | | | | | | | | | | |
|
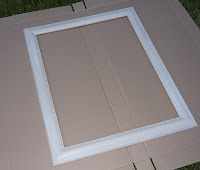 |
| Taken apart ready to paint |
When the frame was all painted I was ready to put the glass back inside. However, I broke the glass that came with the frame which was so frustrating. So I had to go back to the store and buy another frame with glass, another $8.00, which was cheaper then buying just the glass at a craft store.
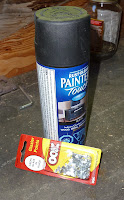 |
| The spray paint I used and the glazier points used to keep the glass in place |
After I had the glass in place I needed to start on the picture. I bought the Martha Stewart
classic butterfly punch and started punching out butterflies from old magazines. I tried to find different patterns to punch out so each butterfly would be different. In total I had to punch out 378 butterflies! It was now time to lay them out. I bought a sheet of mat paper and used that as the background. To give the butterflies some depth I used foam circles to give them some height. I used the
samster Mommy blog for instructions on how to lay out the butterflies.


When all the butterflies were attached I was ready to attach the picture to the frame. I just used masking tape and some thumb tacks. Then I re- attached the hanger and it was ready to hang!
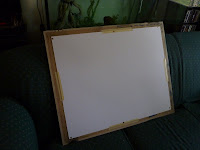 |
| Back of picture |
I absolutely love the final picture. It turned out just like I wanted it to!!!!
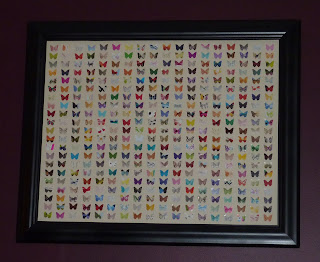 |
| The final picture |


